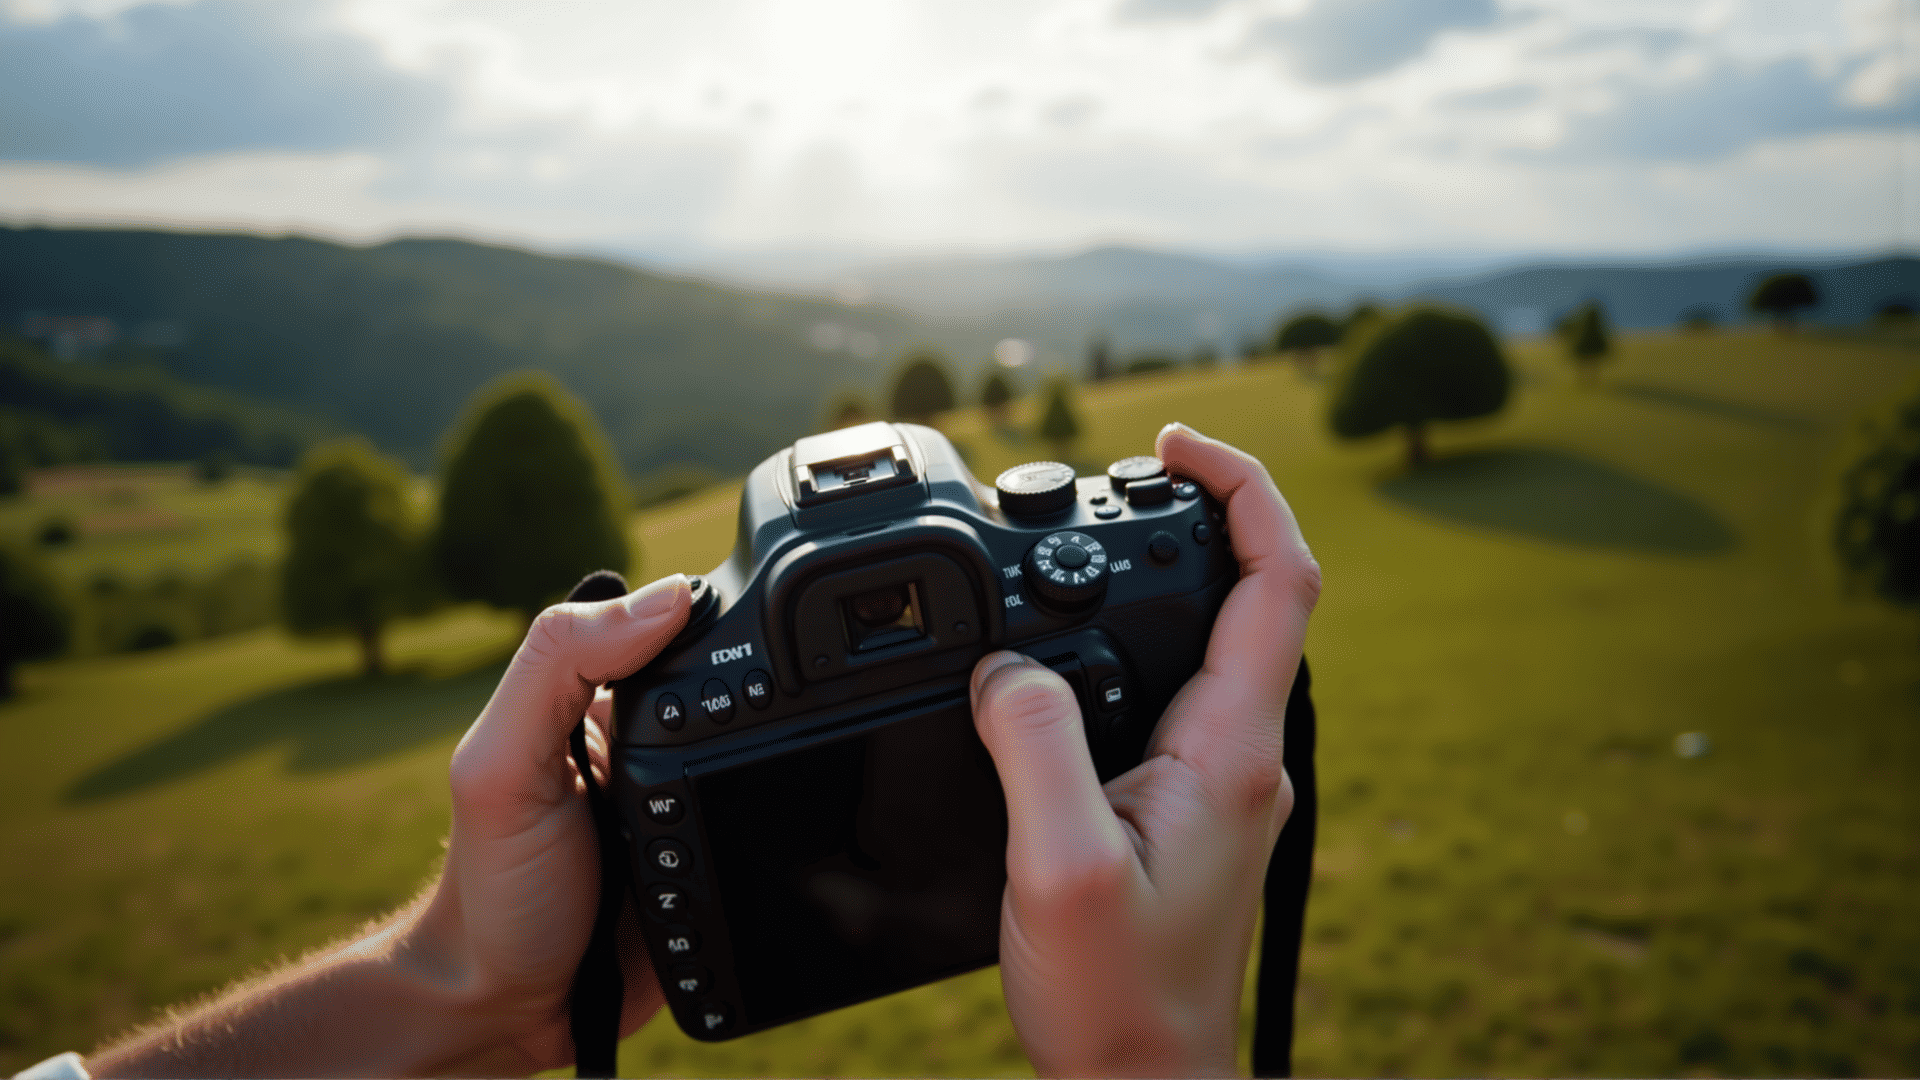
Capturing the perfect image is an art that requires understanding the nuances of camera settings. Whether you're navigating through bright sunlight, low-light environments, or complex indoor scenes, adjusting your camera settings is essential to achieving stunning results. Here's a guide to mastering these adjustments for different lighting conditions and subjects.
Understanding Basic Camera Settings
Before diving into specific scenarios, familiarize yourself with the three pillars of photography: aperture, shutter speed, and ISO.
-
Aperture: This controls the depth of field and the amount of light entering the lens. Measured in f-stops, a low f-stop means a wide aperture, allowing more light and creating a blurred background ideal for portraits. Conversely, a high f-stop narrows the aperture, suitable for landscapes where everything from foreground to background needs to be in focus.
-
Shutter Speed: This determines how long the camera sensor is exposed to light. Fast shutter speeds freeze motion and reduce blur, crucial for capturing sports or wildlife. Slower speeds are beneficial in low-light conditions or when capturing motion blur on purpose, like flowing water.
-
ISO: This setting adjusts your camera's sensitivity to light. A lower ISO produces higher image quality in bright conditions, while a higher ISO lets you take photos in dark environments, although it may introduce noise.
Shooting in Various Lighting Conditions
1. Daylight Photography
Natural light offers fantastic opportunities for photography, but it can be harsh. During midday, when the sun is strongest, consider a low ISO and a fast shutter speed to prevent overexposure. Use a smaller aperture (higher f-stop) to capture vibrant details in landscapes or street photography.
2. Golden Hour Magic
The golden hour, shortly after sunrise or before sunset, provides soft, diffused lighting that is perfect for various subjects. You can experiment with a moderately wide aperture to enhance the warm glow and use slower shutter speeds to capture subtle changes in light and shadow.
3. Low-Light and Night Photography
In settings with little natural light, such as nighttime or indoor environments, compensate by increasing your ISO. Although you’ll need to manage noise, modern cameras handle high ISO settings better than ever. Additionally, use a tripod for stability, as you'll likely need slower shutter speeds, and open up your aperture as wide as possible to maximize light intake.
Adjusting for Different Subjects
1. Portraits
When photographing people, use a wide aperture (low f-stop) to achieve a shallow depth of field, which helps the subject stand out against a softly blurred background. Keep your ISO low to retain detail, and adjust shutter speed to prevent motion blur if your subject is moving.
2. Action Shots
For sports and wildlife, a fast shutter speed is essential to freeze motion. Coupled with a slightly higher ISO to account for the high-speed capture, and a moderate aperture, you'll achieve crisp action shots that showcase every detail.
3. Macro Photography
Capturing small subjects like flowers or insects requires a sharp focus and depth of field control. Use a narrow aperture to ensure the entire subject is in focus, and rely on a slow shutter speed or external lighting to achieve proper exposure.
Practice and Experimentation
Mastery of camera settings comes with practice and experimentation. Engage in different scenarios and play with various combinations of aperture, shutter speed, and ISO to learn what works best for you. Each change in settings can dramatically alter the outcome of your photo, providing endless creativity and expression opportunities.
By understanding and adjusting your camera settings strategically, you can capture the perfect shot in any condition, rendering your photographic endeavors both rewarding and impactful.